These were the images we downloaded and now these are the images that we will edit our footage too.
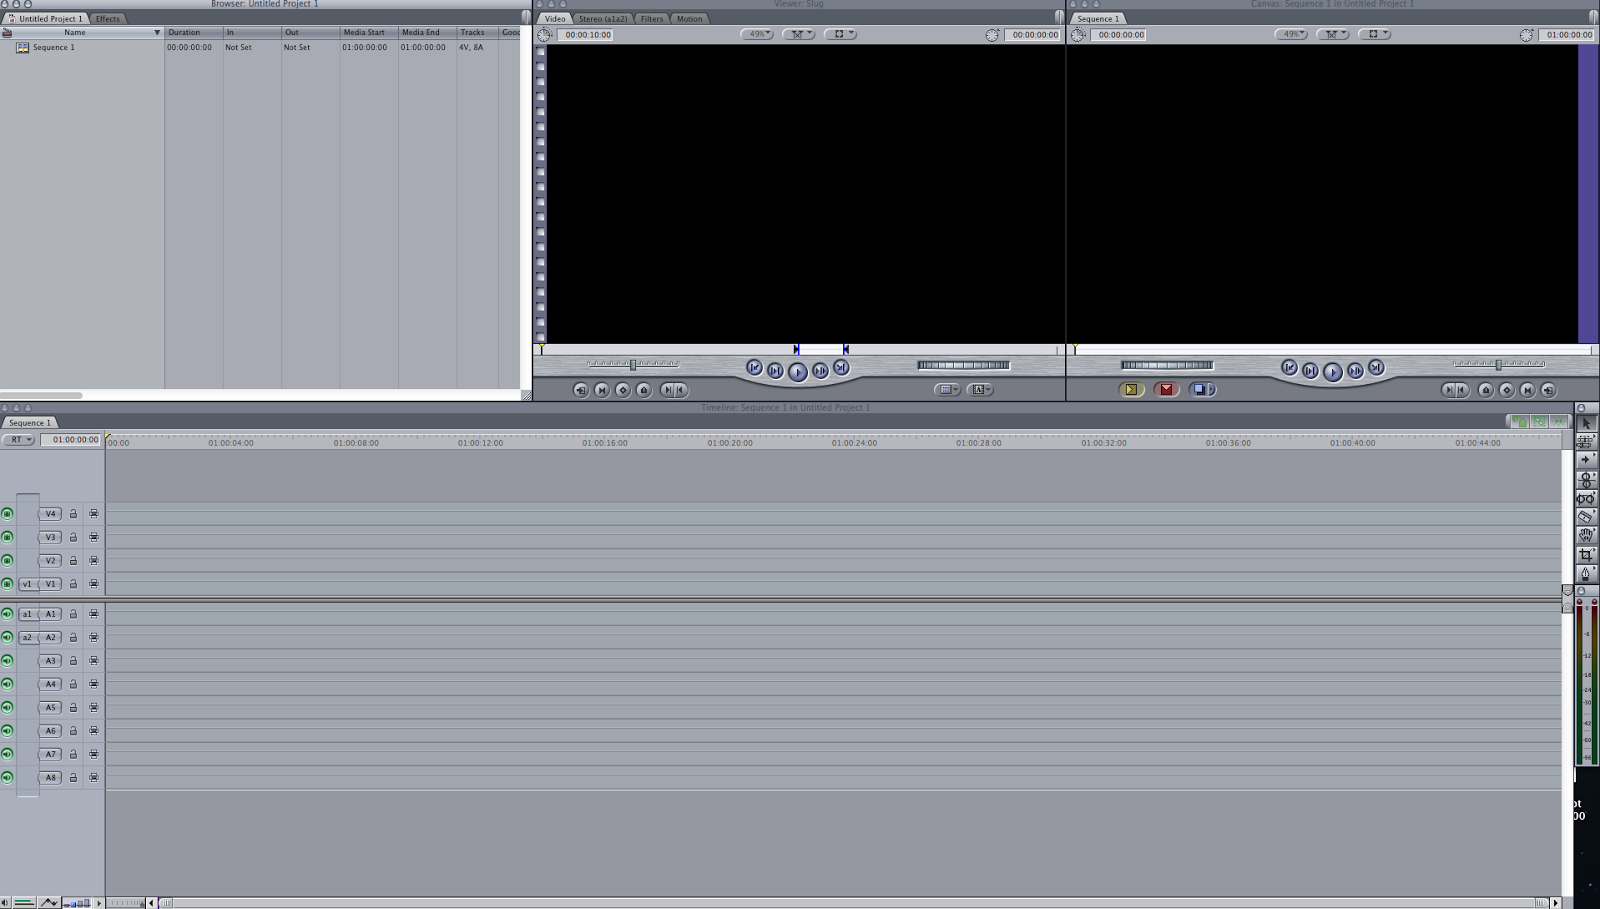
When you first open up Final Cut Pro on the iMac's this is what a new project looks like.
First we uploaded all of our raw footage onto Final Cut Pro and then I placed them in order of scenes. After this I used the Effect Chrome Key to key out the green screen at the back. Which then left a black background with the characters. Then after this I added an image of a car which will be shown in the background with the characters. I have included screenshots of our editing process below.
After we finished editing the background and editing the raw footage to the images. We then put all of the scenes in order and created our film.Below is a screenshot to show that we added our scenes in order of how they go in the original film.
We then had to add a title sequence. In the title sequence we included the director's name, the title of the film, the actors names and the production and distribution companies names. Below is a screenshot of the title sequence.
After this we then added a voice over. In the original film there is a voice over and the song "Don't you forget about me" playing. When we finished recording our voice over and finished editing the music to our footage we were finished.
Below is a screenshot of our finished film with the music and voice over added.


No comments:
Post a Comment